![[Important]](images/important.png) | Important |
|---|---|
In this chapter we assume that you perform deployment of your application to Cloud Foundry PaaS |
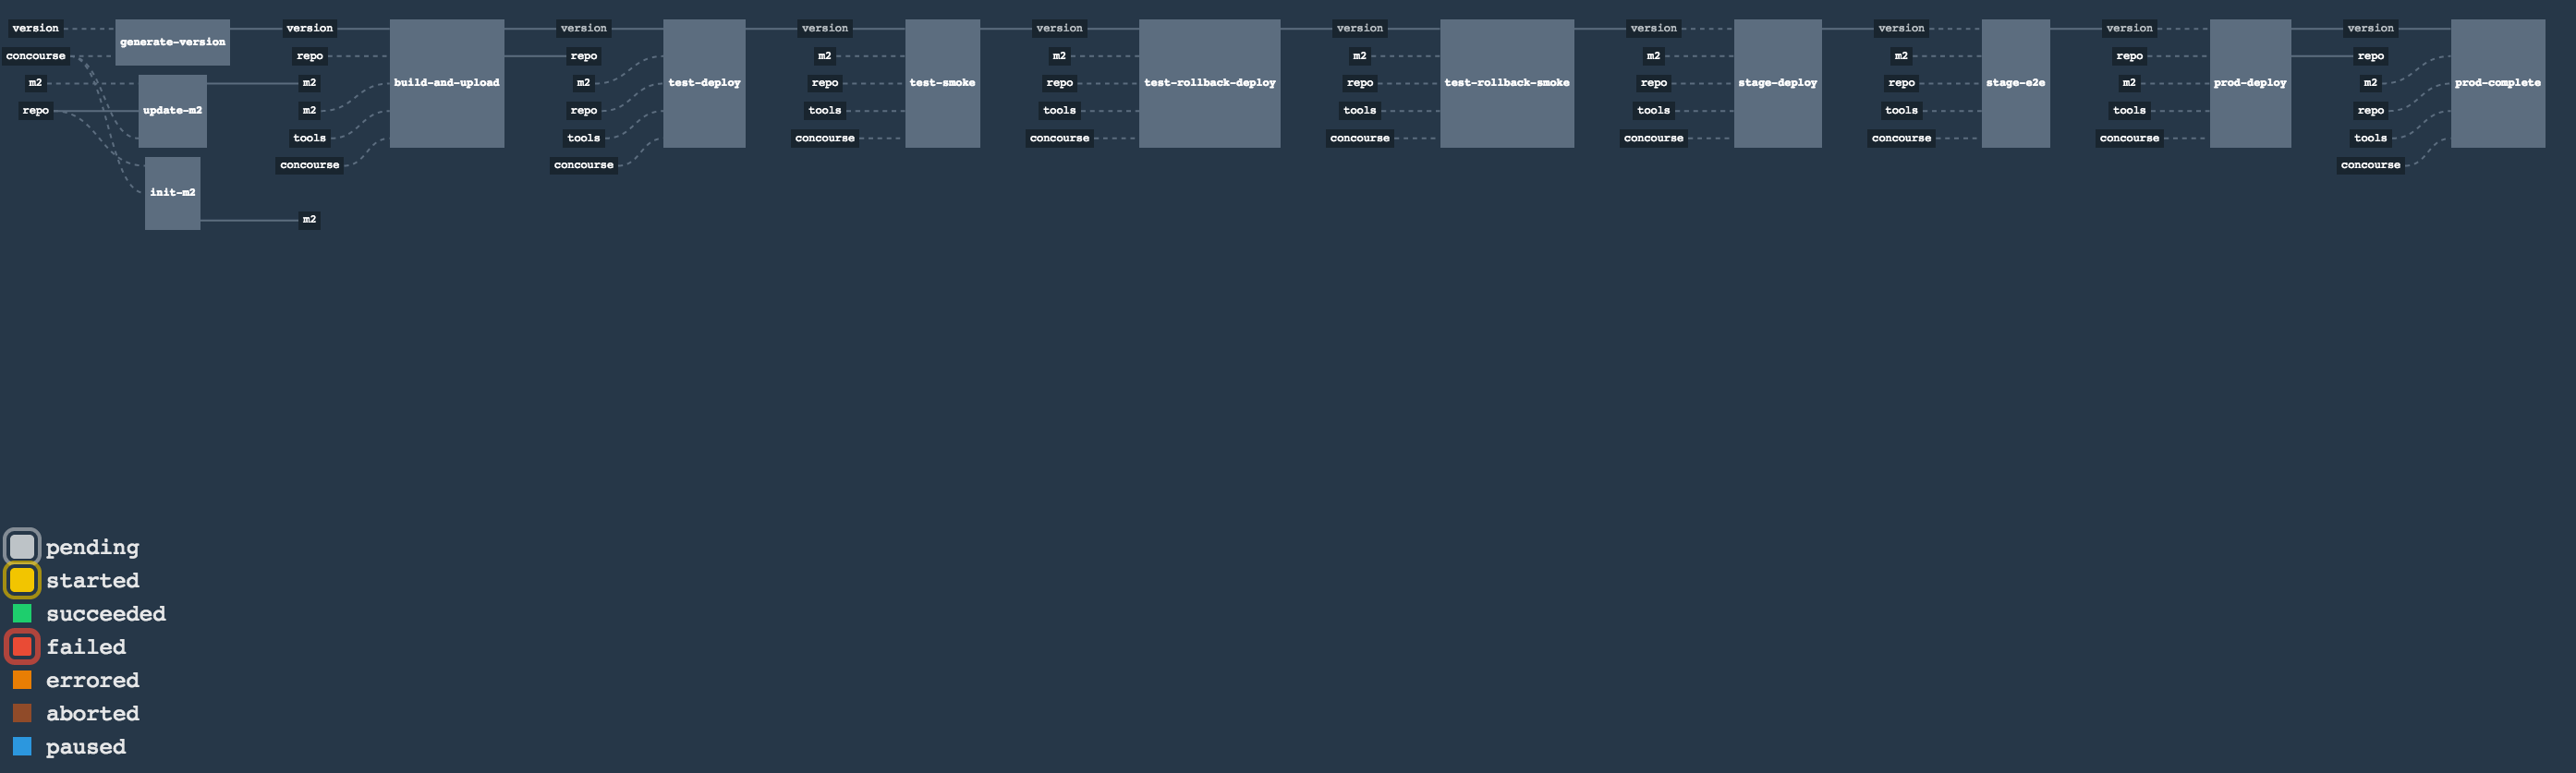
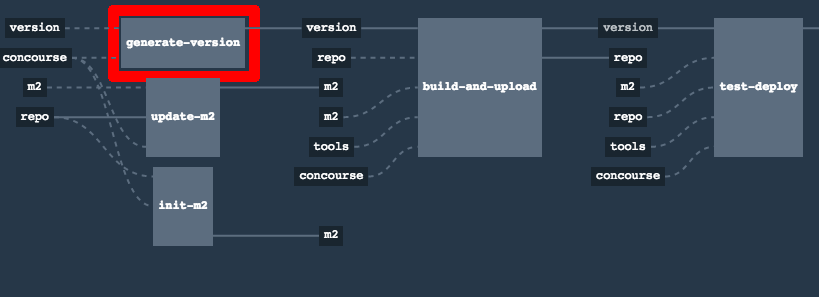
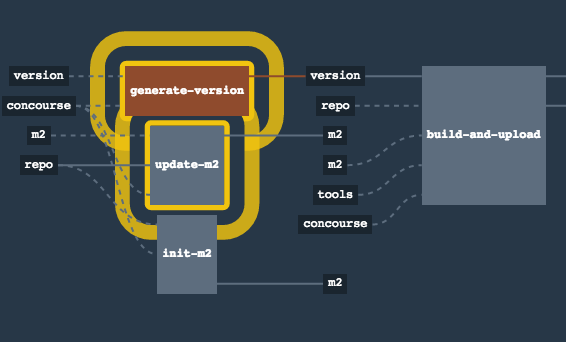
The Spring Cloud Pipelines repository contains opinionated Concourse pipeline definition. Those jobs will form an empty pipeline and a sample, opinionated one that you can use in your company.
All in all there are the following projects taking part in the whole microservice setup for this demo.
- Github Analytics - the app that has a REST endpoint and uses messaging. Our business application.
- Github Webhook - project that emits messages that are used by Github Analytics. Our business application.
- Eureka - simple Eureka Server. This is an infrastructure application.
- Github Analytics Stub Runner Boot - Stub Runner Boot server to be used for tests with Github Analytics. Uses Eureka and Messaging. This is an infrastructure application.
If you want to just run the demo as far as possible using PCF Dev and Docker Compose
There are 4 apps that are composing the pipeline
You need to fork only these. That’s because only then will your user be able to tag and push the tag to repo.
Concourse + Artifactory can be run locally. To do that just execute the
start.sh script from this repo.
git clone https://github.com/spring-cloud/spring-cloud-pipelines
cd spring-cloud-pipelines/concourse
./setup_docker_compose.sh
./start.sh 192.168.99.100
The setup_docker_compose.sh script should be executed once only to allow
generation of keys.
The 192.168.99.100 param is an example of an external URL of Concourse
(equal to Docker-Machine ip in this example).
Then Concourse will be running on port 8080 and Artifactory 8081.
When Artifactory is running, just execute the tools/deploy-infra.sh script from this repo.
git clone https://github.com/spring-cloud/spring-cloud-pipelines
cd spring-cloud-pipelines/
./tools/deploy-infra.sh
As a result both eureka and stub runner repos will be cloned, built
and uploaded to Artifactory.
![[Tip]](images/tip.png) | Tip |
|---|---|
You can skip this step if you have CF installed and don’t want to use PCF Dev The only thing you have to do is to set up spaces. |
![[Warning]](images/warning.png) | Warning |
|---|---|
It’s more than likely that you’ll run out of resources when you reach stage step. Don’t worry! Keep calm and clear some apps from PCF Dev and continue. |
You have to download and start PCF Dev. A link how to do it is available here.
The default credentials when using PCF Dev are:
username: user
password: pass
email: user
org: pcfdev-org
space: pcfdev-space
api: api.local.pcfdev.io
You can start the PCF Dev like this:
cf dev start
You’ll have to create 3 separate spaces (email admin, pass admin)
cf login -a https://api.local.pcfdev.io --skip-ssl-validation -u admin -p admin -o pcfdev-org

cf create-space pcfdev-test
cf set-space-role user pcfdev-org pcfdev-test SpaceDeveloper
cf create-space pcfdev-stage
cf set-space-role user pcfdev-org pcfdev-stage SpaceDeveloper
cf create-space pcfdev-prod
cf set-space-role user pcfdev-org pcfdev-prod SpaceDeveloper
You can also execute the ./tools/cf-helper.sh setup-spaces to do this.
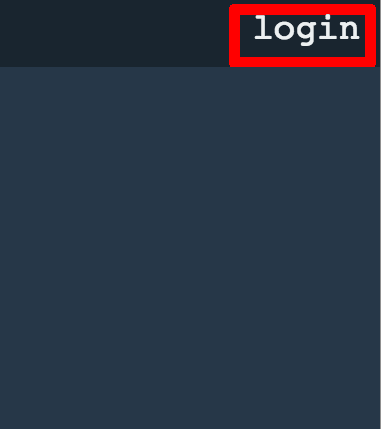
If you go to Concourse website you should see sth like this:
You can click one of the icons (depending on your OS) to download fly, which is the Concourse CLI. Once you’ve downloaded that (and maybe added to your PATH) you can run:
fly --version
If fly is properly installed then it should print out the version.
The repo comes with credentials-sample-cf.yml which is set up with sample data (most credentials) are set to be applicable for PCF Dev. Copy this file to a new file credentials.yml (the file is added to .gitignore so don’t worry that you’ll push it with your passwords) and edit it as you wish. For our demo just setup:
app-url- url pointing to your forkedgithub-webhookrepogithub-private-key- your private key to clone / tag GitHub reposrepo-with-binaries- the IP is set to the defaults for Docker Machine. You should update it to point to your setup
If you don’t have a Docker Machine just execute ./whats_my_ip.sh script to
get an external IP that you can pass to your repo-with-binaries instead of the default
Docker Machine IP.
Below you can see what environment variables are required by the scripts. To the right hand side you can see the default values for PCF Dev that we set in the credentials-sample-cf.yml.
| Property Name | Property Description | Default value |
|---|---|---|
BUILD_OPTIONS | Additional options you would like to pass to the Maven / Gradle build | |
PAAS_TEST_API_URL | The URL to the CF Api for TEST env | api.local.pcfdev.io |
PAAS_STAGE_API_URL | The URL to the CF Api for STAGE env | api.local.pcfdev.io |
PAAS_PROD_API_URL | The URL to the CF Api for PROD env | api.local.pcfdev.io |
PAAS_TEST_ORG | Name of the org for the test env | pcfdev-org |
PAAS_TEST_SPACE | Name of the space for the test env | pcfdev-space |
PAAS_STAGE_ORG | Name of the org for the stage env | pcfdev-org |
PAAS_STAGE_SPACE | Name of the space for the stage env | pcfdev-space |
PAAS_PROD_ORG | Name of the org for the prod env | pcfdev-org |
PAAS_PROD_SPACE | Name of the space for the prod env | pcfdev-space |
REPO_WITH_BINARIES | URL to repo with the deployed jars | |
M2_SETTINGS_REPO_ID | The id of server from Maven settings.xml | artifactory-local |
PAAS_HOSTNAME_UUID | Additional suffix for the route. In a shared environment the default routes can be already taken | |
APP_MEMORY_LIMIT | How much memory should be used by the infra apps (Eureka, Stub Runner etc.) | 256m |
JAVA_BUILDPACK_URL | The URL to the Java buildpack to be used by CF |
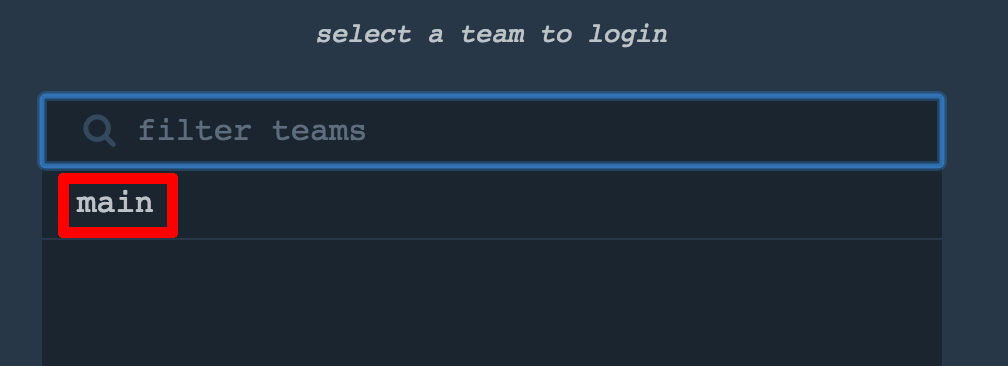
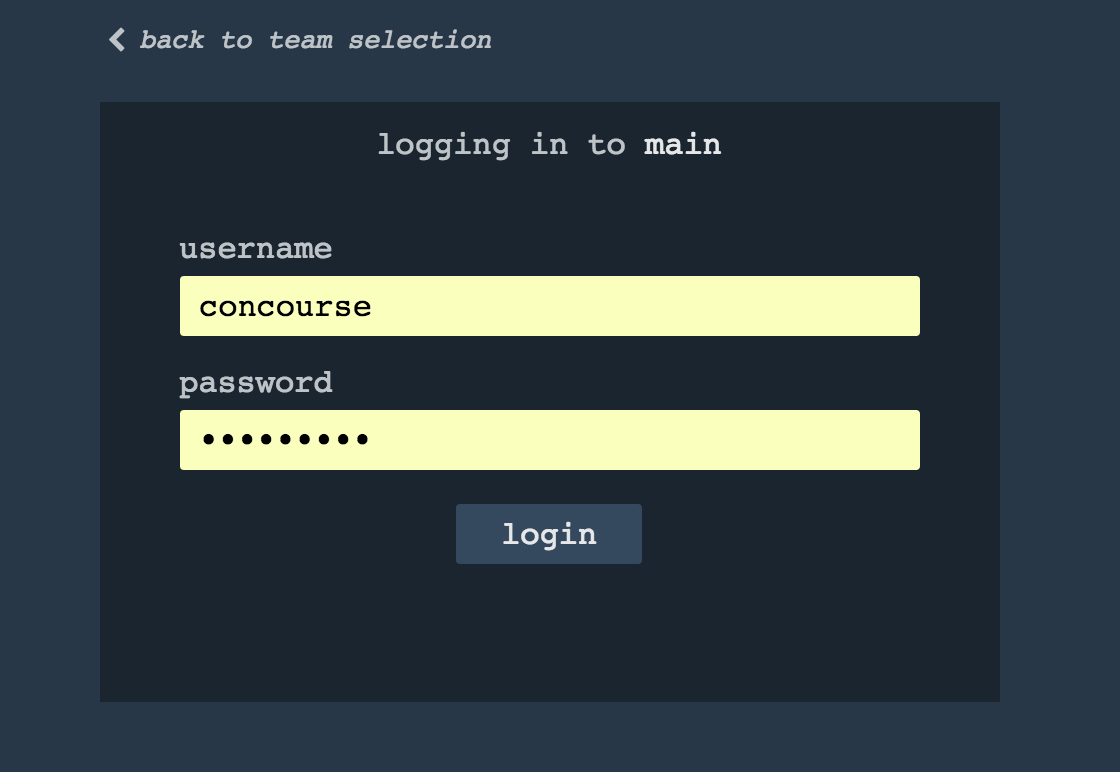
Log in (e.g. for Concourse running at 192.168.99.100 - if you don’t provide any value then localhost is assumed). If you execute this script (it assumes that either fly is on your PATH or it’s in the same folder as the script is):
./login.sh 192.168.99.100
Next run the command to create the pipeline.
./set_pipeline.sh
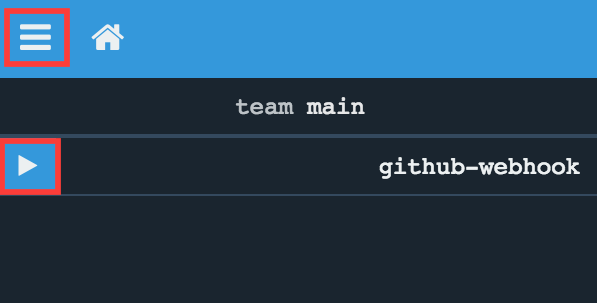
Then you’ll create a github-webhook pipeline under the docker alias, using the provided credentials.yml file.
You can override these values in exactly that order (e.g. ./set-pipeline.sh some-project another-target some-other-credentials.yml)