![[Important]](images/important.png) | Important |
|---|---|
In this chapter we assume that you perform deployment of your application to Kubernetes PaaS |
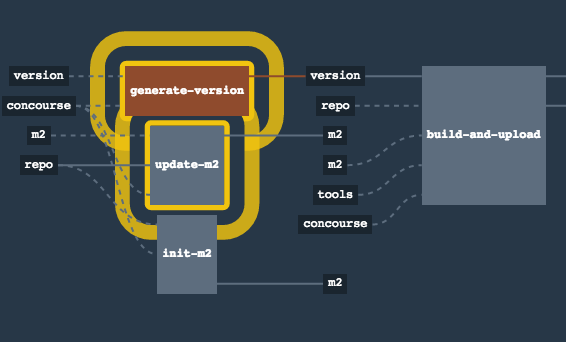
The Spring Cloud Pipelines repository contains opinionated Concourse pipeline definition. Those jobs will form an empty pipeline and a sample, opinionated one that you can use in your company.
All in all there are the following projects taking part in the whole microservice setup for this demo.
- Github Analytics - the app that has a REST endpoint and uses messaging. Our business application.
- Github Webhook - project that emits messages that are used by Github Analytics. Our business application.
- Eureka - simple Eureka Server. This is an infrastructure application.
- Github Analytics Stub Runner Boot - Stub Runner Boot server to be used for tests with Github Analytics. Uses Eureka and Messaging. This is an infrastructure application.
This is a guide for Concourse pipeline.
If you want to just run the demo as far as possible using PCF Dev and Docker Compose
The simplest way to deploy Concourse to K8S is to use Helm.
Once you have Helm installed and your kubectl is pointing to the
cluster, just type this command to install the Concourse cluster in your K8S cluster.
$ helm install stable/concourse --name concourse
Once it’s done you’ll see the following output
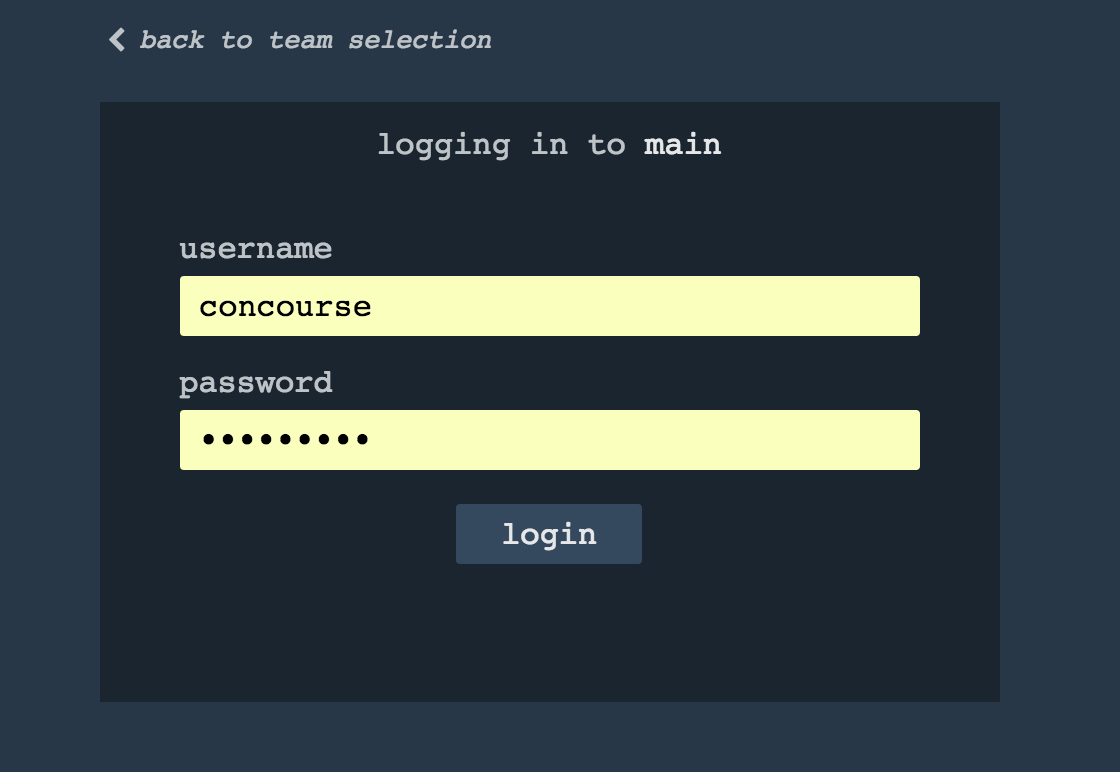
1. Concourse can be accessed:

  * Within your cluster, at the following DNS name at port 8080:

    concourse-web.default.svc.cluster.local

  * From outside the cluster, run these commands in the same shell:

    export POD_NAME=$(kubectl get pods --namespace default -l "app=concourse-web" -o jsonpath="{.items[0].metadata.name}")
    echo "Visit http://127.0.0.1:8080 to use Concourse"
    kubectl port-forward --namespace default $POD_NAME 8080:8080

2. Login with the following credentials

  Username: concourse
  Password: concourse
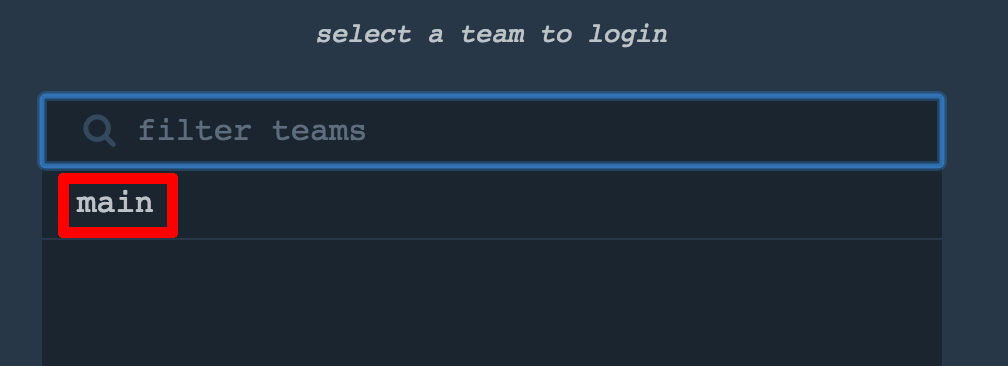
Just follow these steps and log in to Concourse under http://127.0.0.1:8080.
We can use Helm also to deploy Artifactory to K8S
$ helm install --name artifactory --set artifactory.image.repository=docker.bintray.io/jfrog/artifactory-oss stable/artifactoryAfter executing this you’ll see the following output
NOTES:
Congratulations. You have just deployed JFrog Artifactory Pro!

1. Get the Artifactory URL by running these commands:

   NOTE: It may take a few minutes for the LoadBalancer IP to be available.
         You can watch the status of the service by running 'kubectl get svc -w nginx'
   export SERVICE_IP=$(kubectl get svc --namespace default nginx -o jsonpath='{.status.loadBalancer.ingress[0].ip}')
   echo http://$SERVICE_IP/

2. Open Artifactory in your browser
   Default credential for Artifactory:
   user: admin
   password: password
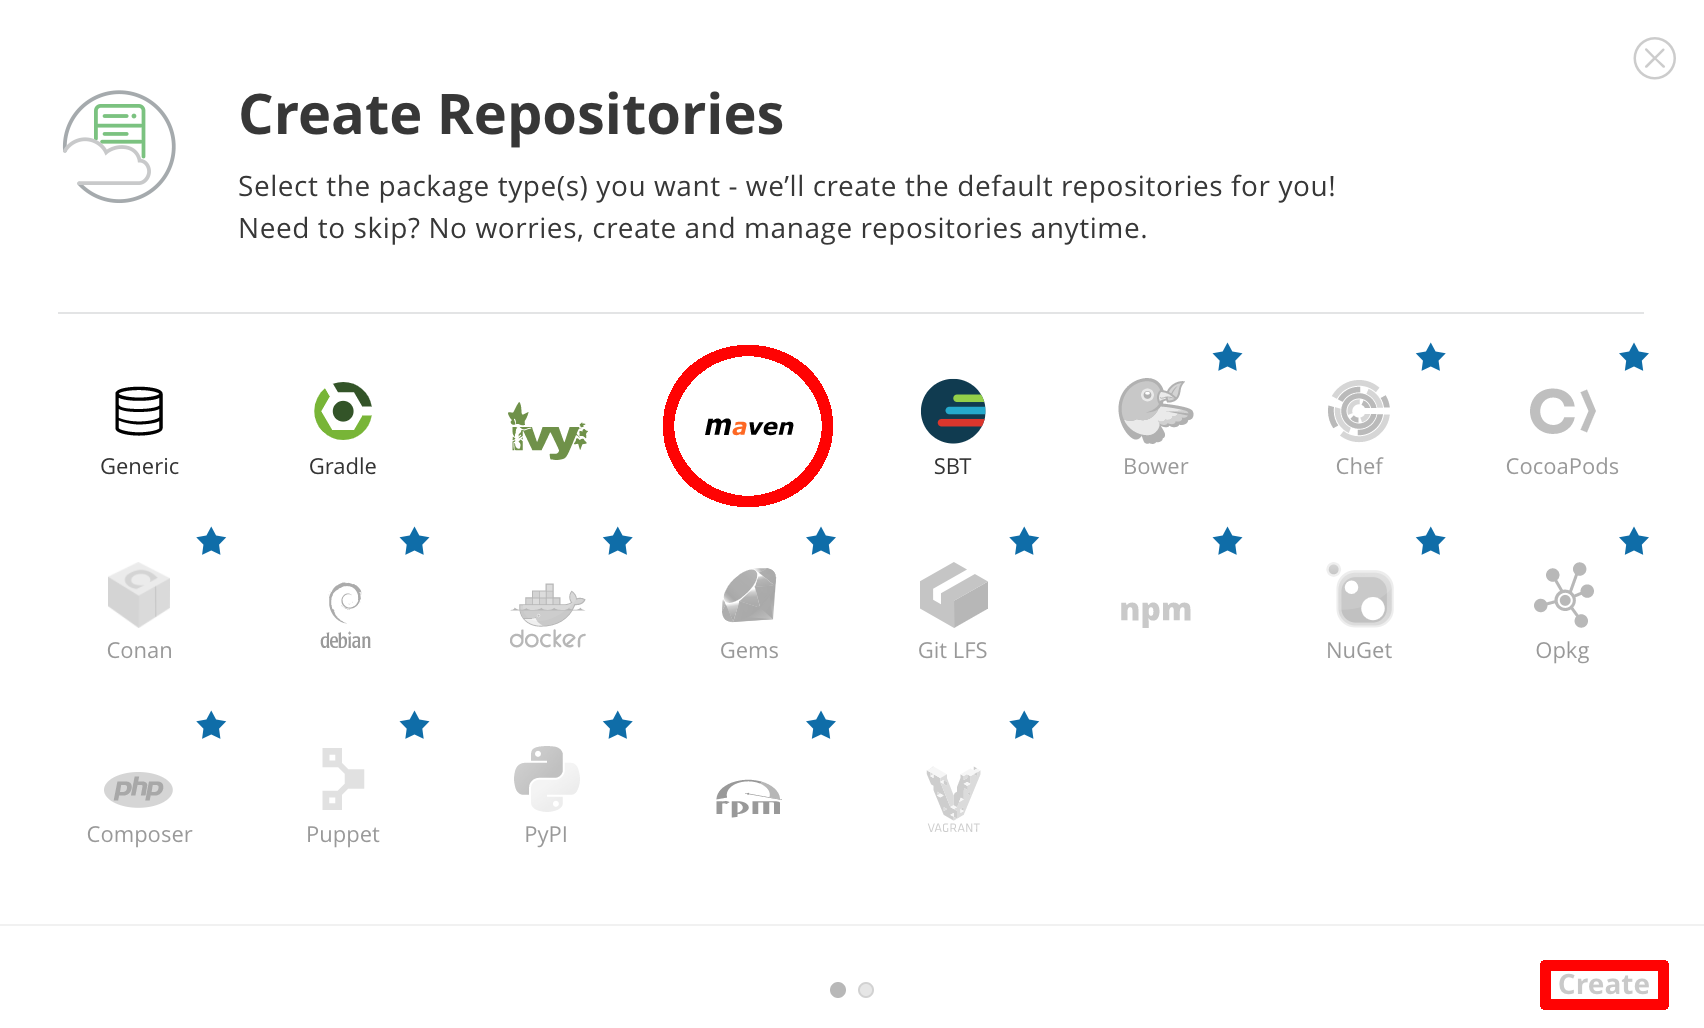
Next, we need to set up the repositories.
First, access the Artifactory URL and log in with
user, admin and password password.

Then, click on the Maven setup and click Create.
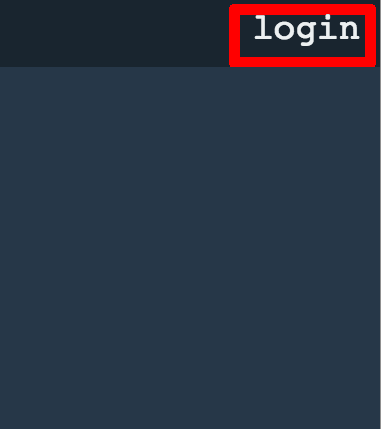
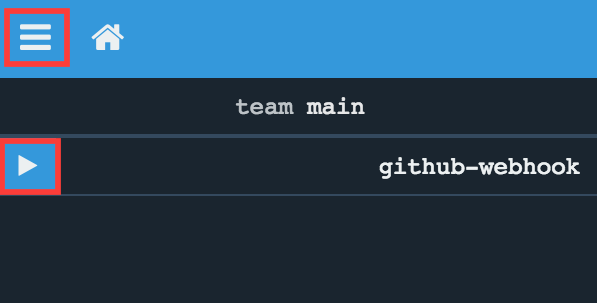
If you go to Concourse website you should see sth like this:
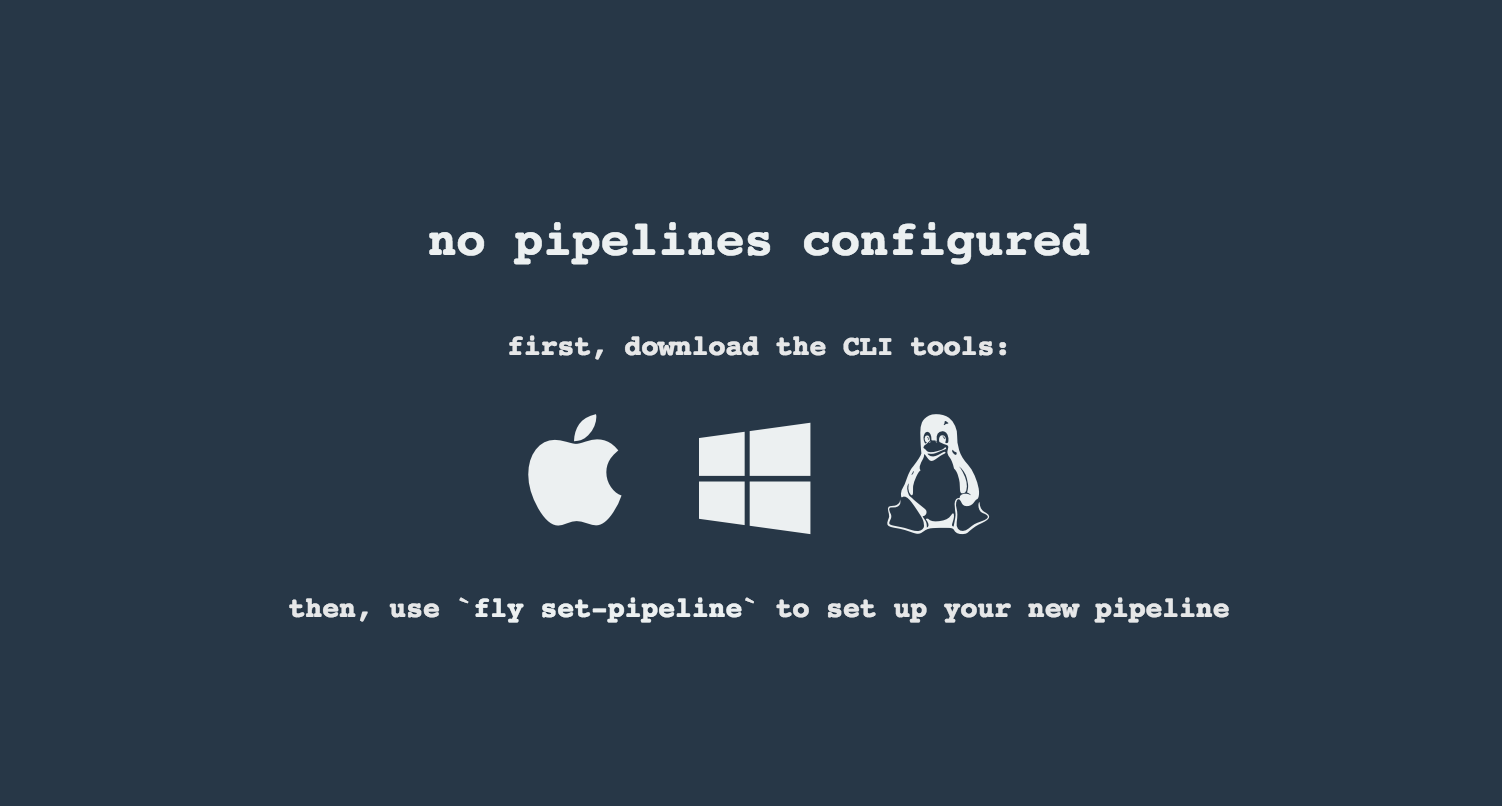
You can click one of the icons (depending on your OS) to download fly, which is the Concourse CLI. Once you’ve downloaded that (and maybe added to your PATH) you can run:
fly --version
If fly is properly installed then it should print out the version.
There is a sample credentials file called credentials-sample-k8s.yml
prepared for k8s. You can use it as a base for your credentials.yml.
To allow the Concourse worker’s spawned container to connect to Kubernetes cluster you will need to pass the CA contents and the auth token.
To get the contents of CA for GCE just execute
$ kubectl get secret $(kubectl get secret | grep default-token | awk '{print $1}') -o jsonpath='{.data.ca\.crt}' | base64 --decode
To get the token just type:
$ kubectl get secret $(kubectl get secret | grep default-token | awk '{print $1}') -o jsonpath='{.data.token}' | base64 --decode
Set that value under paas-test-client-token, paas-stage-client-token and paas-prod-client-token
After running Concourse you should get the following output in your terminal
$ export POD_NAME=$(kubectl get pods --namespace default -l "app=concourse-web" -o jsonpath="{.items[0].metadata.name}")
$ echo "Visit http://127.0.0.1:8080 to use Concourse"
$ kubectl port-forward --namespace default $POD_NAME 8080:8080
Visit http://127.0.0.1:8080 to use Concourse
Log in (e.g. for Concourse running at 127.0.0.1 - if you don’t provide any value then localhost is assumed). If you execute this script (it assumes that either fly is on your PATH or it’s in the same folder as the script is):
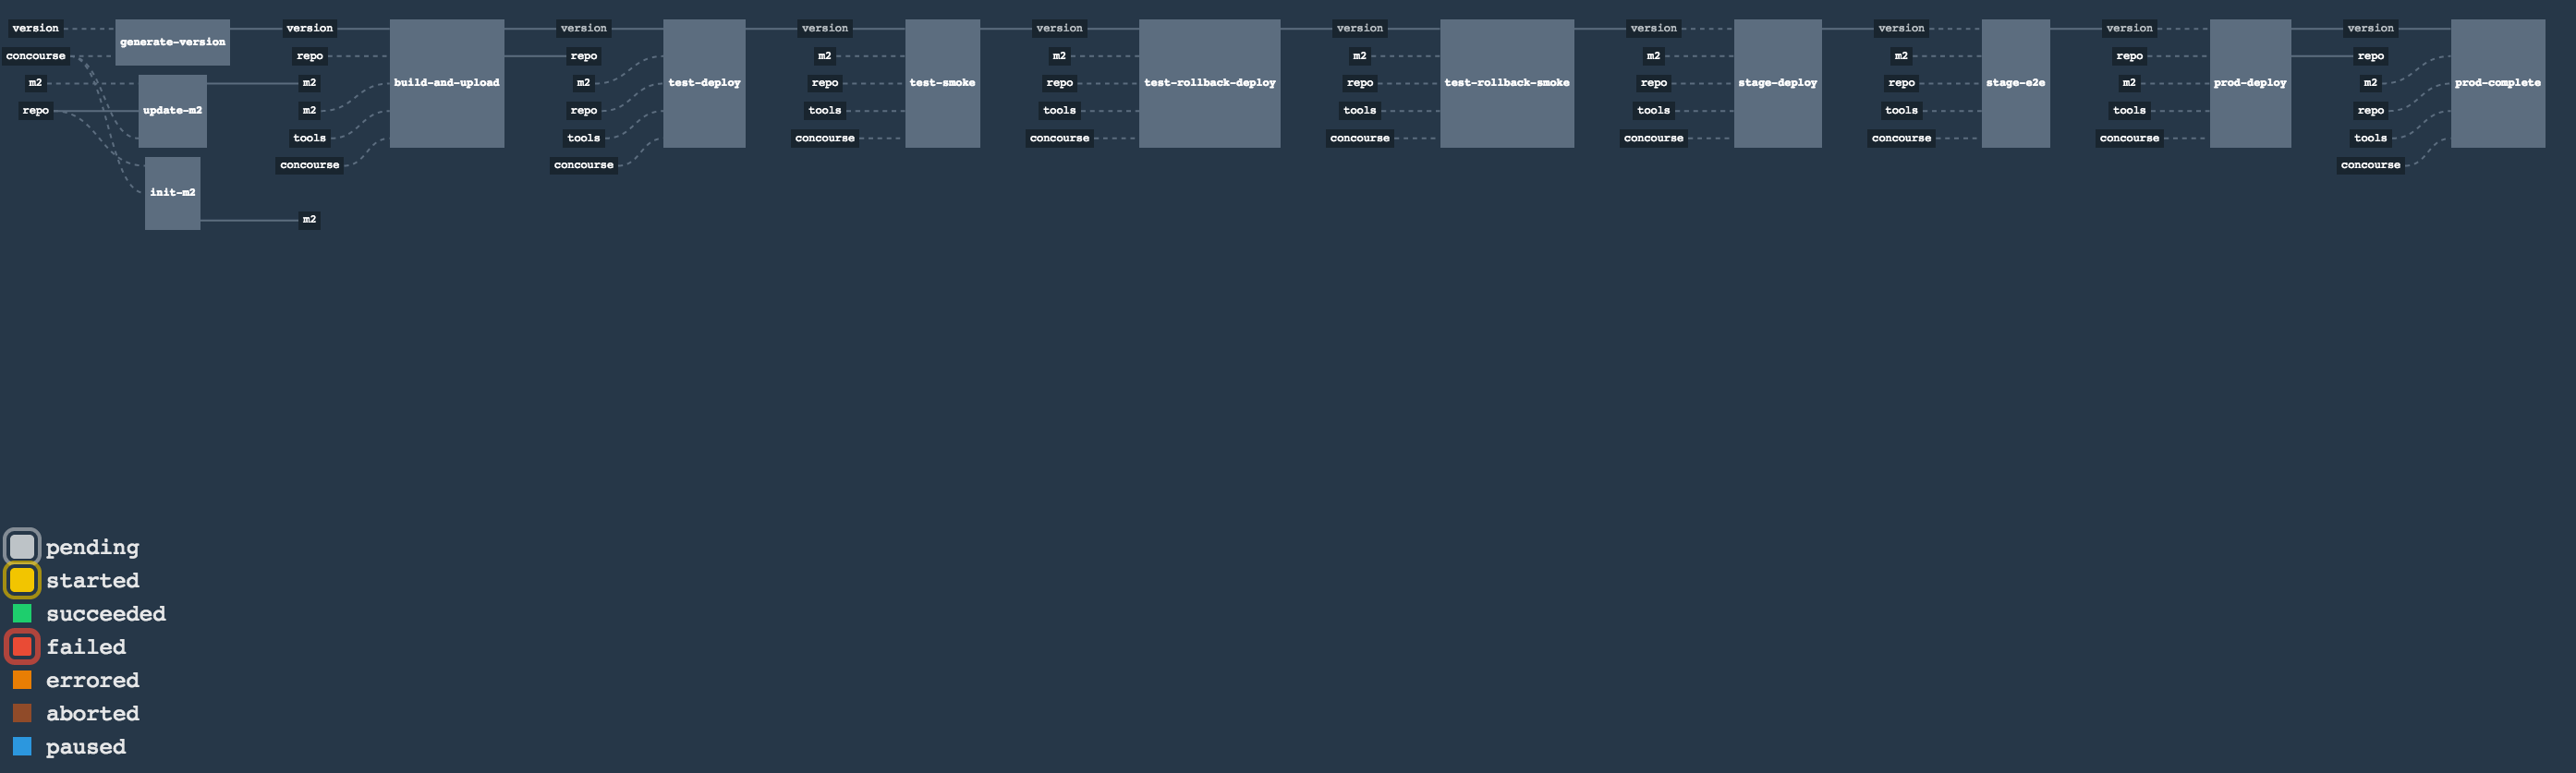
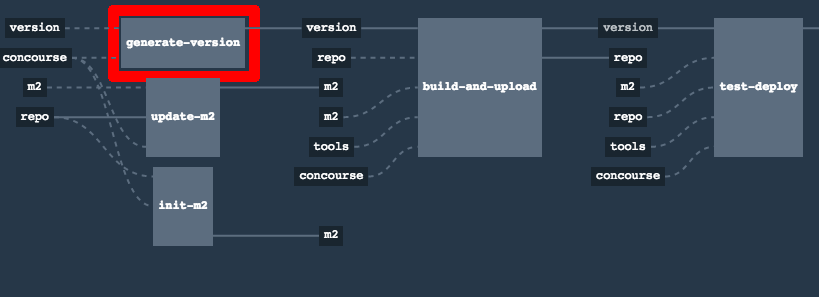
$ fly -t k8s login -c http://localhost:8080 -u concourse -p concourseNext run the command to create the pipeline.
$ ./set_pipeline.sh github-webhook k8s credentials-k8s.yml